Complete Probe Reprocessing®

TEE Probes

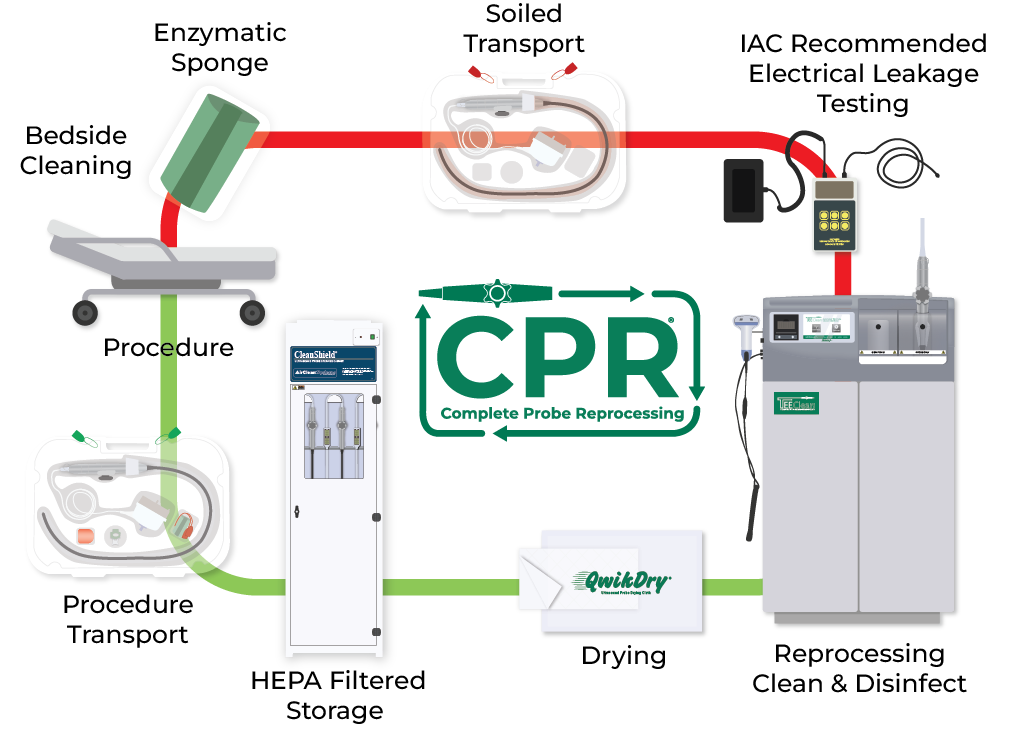
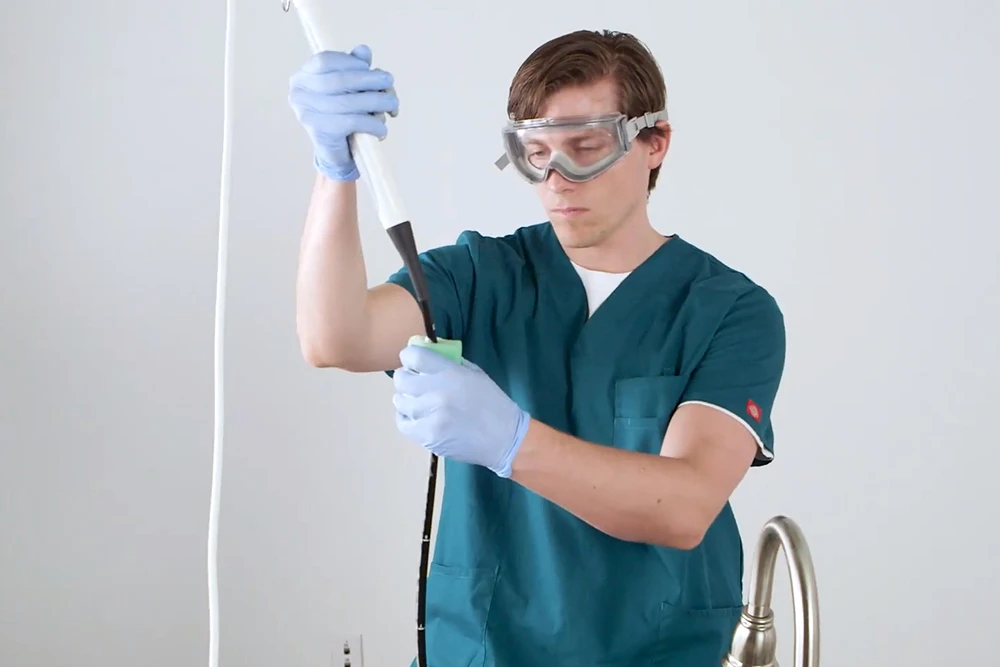
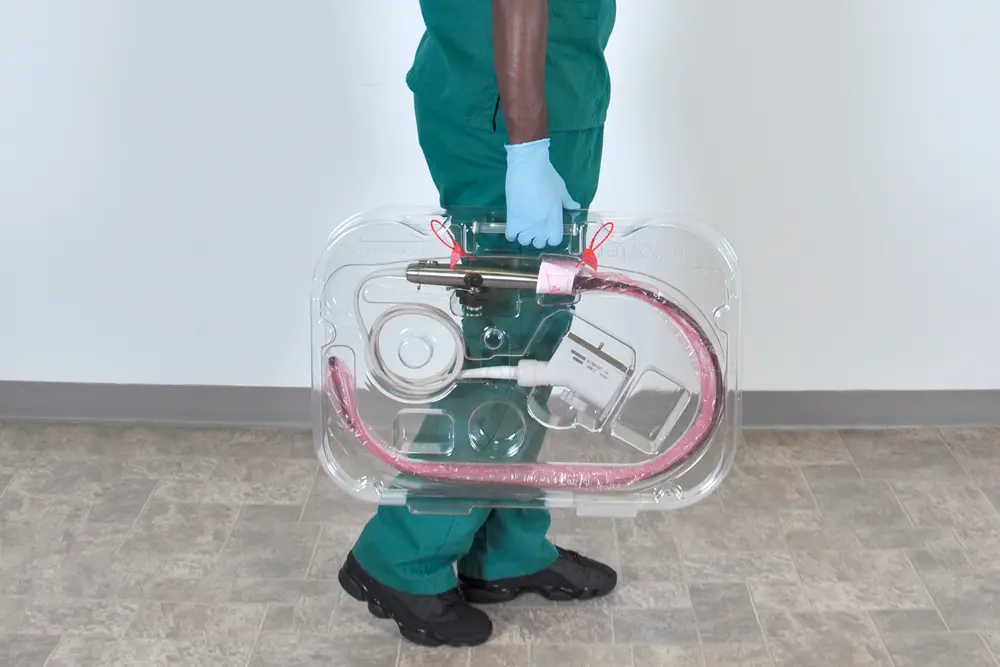
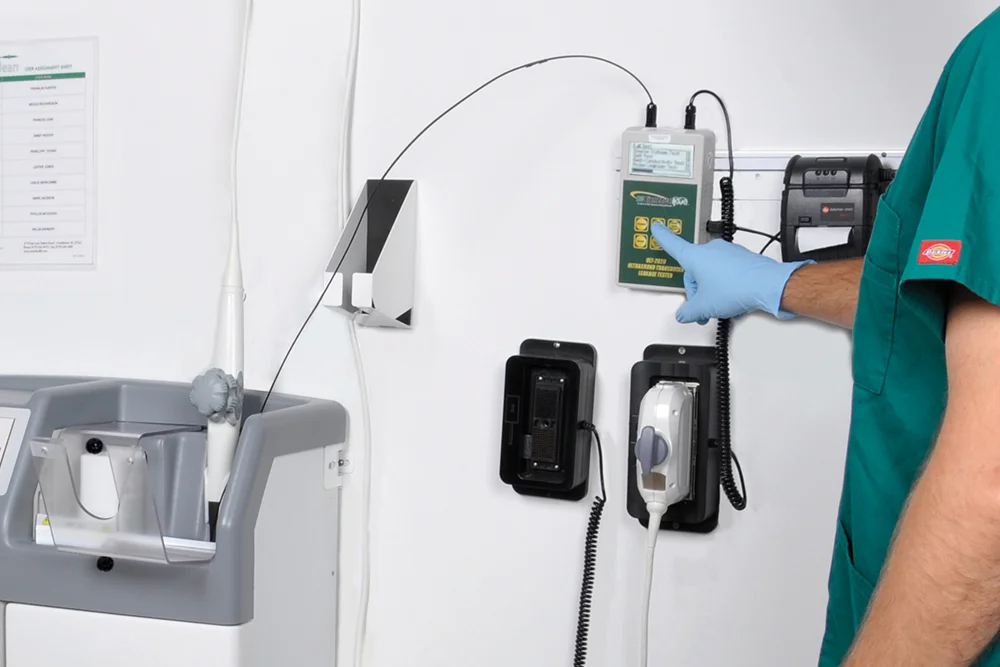
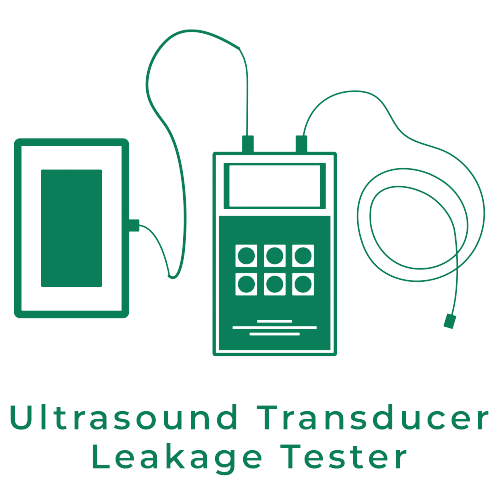
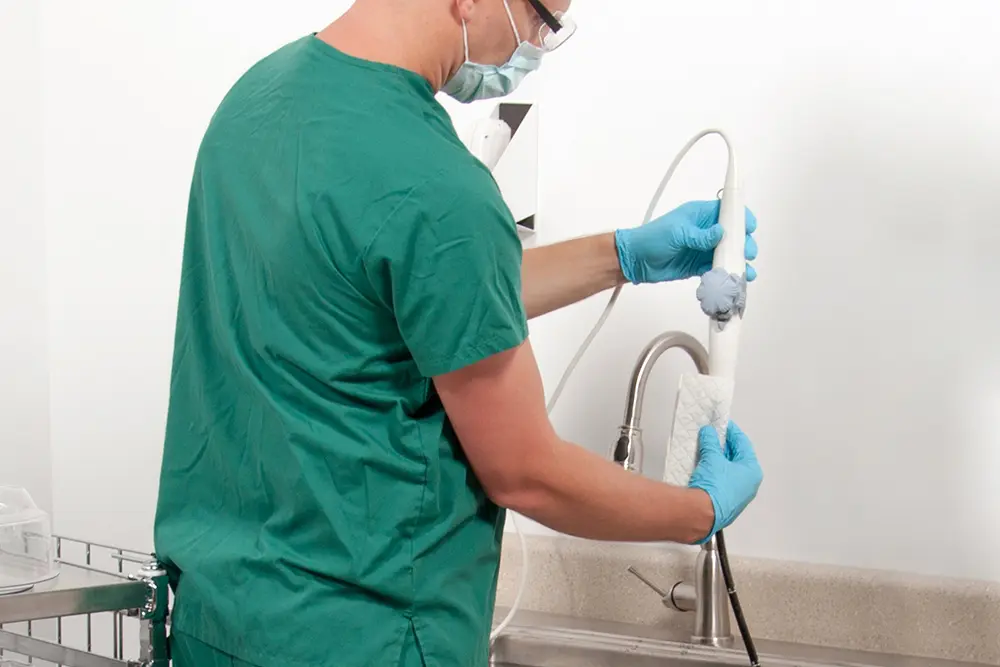
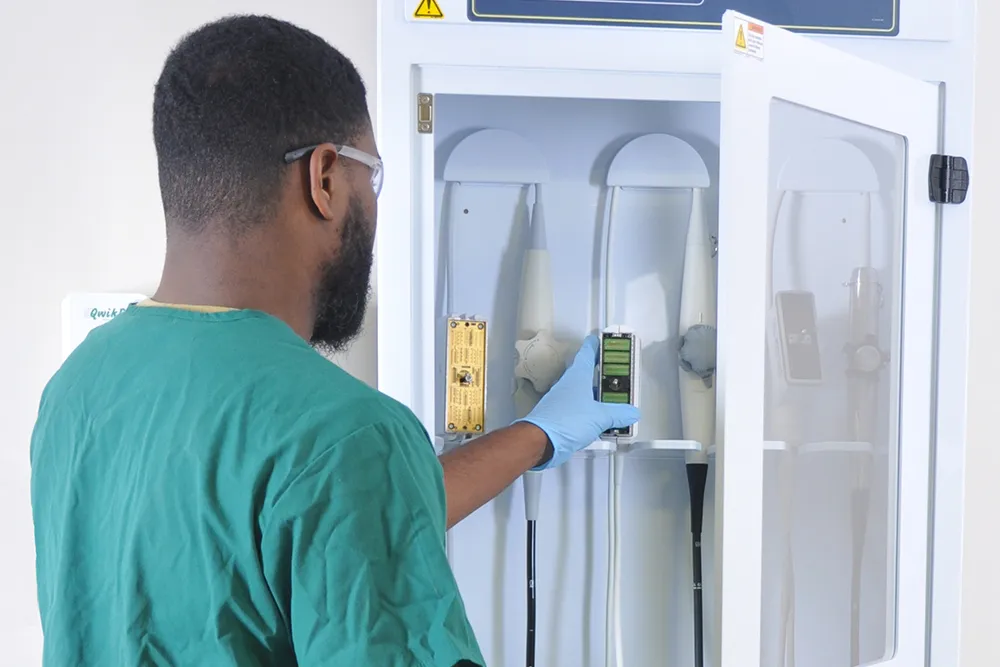
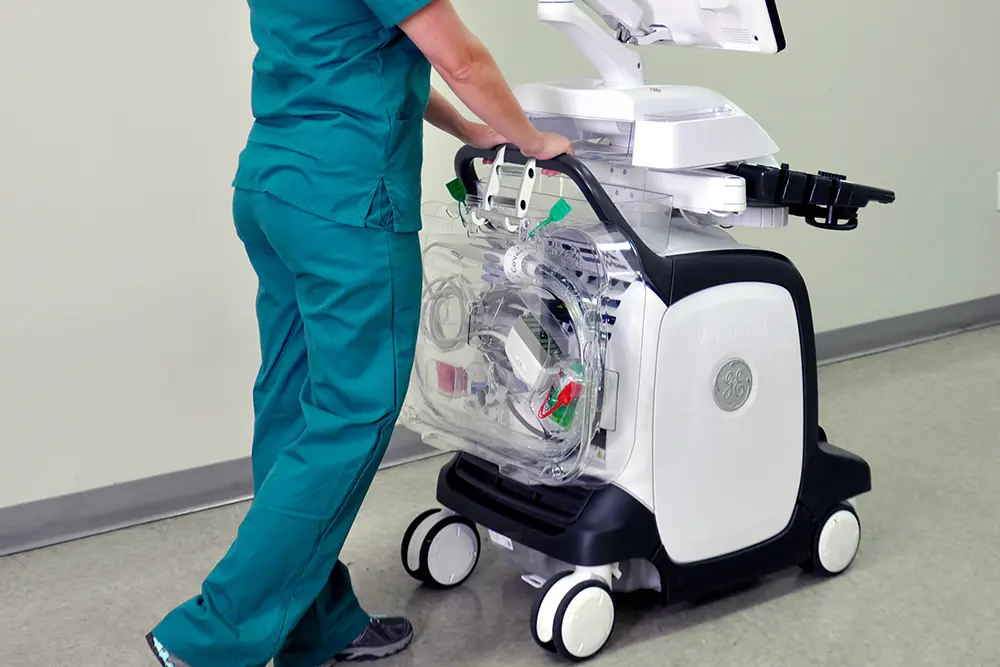
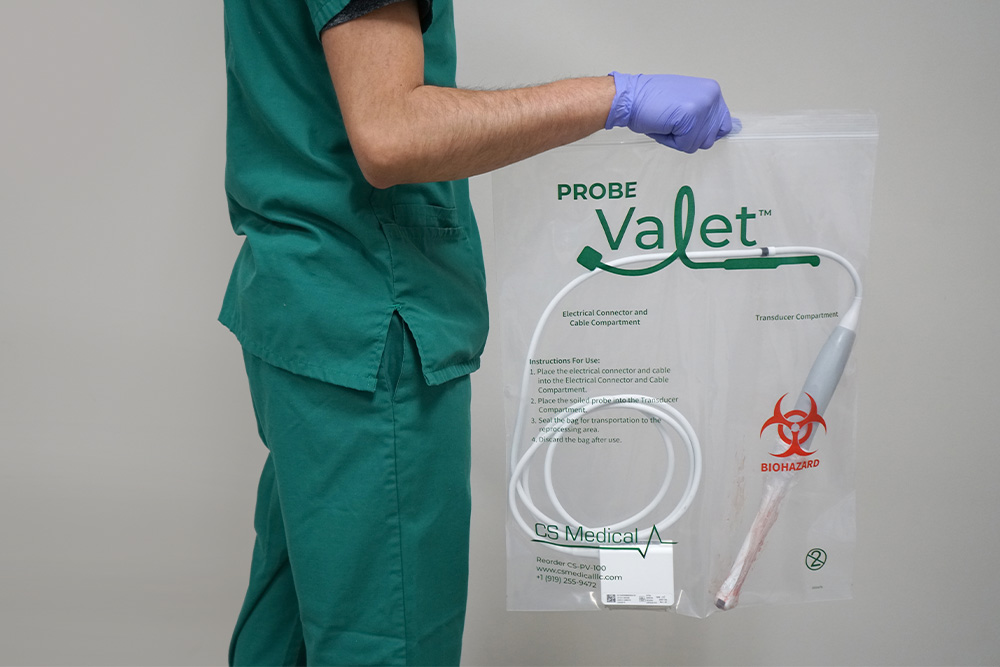
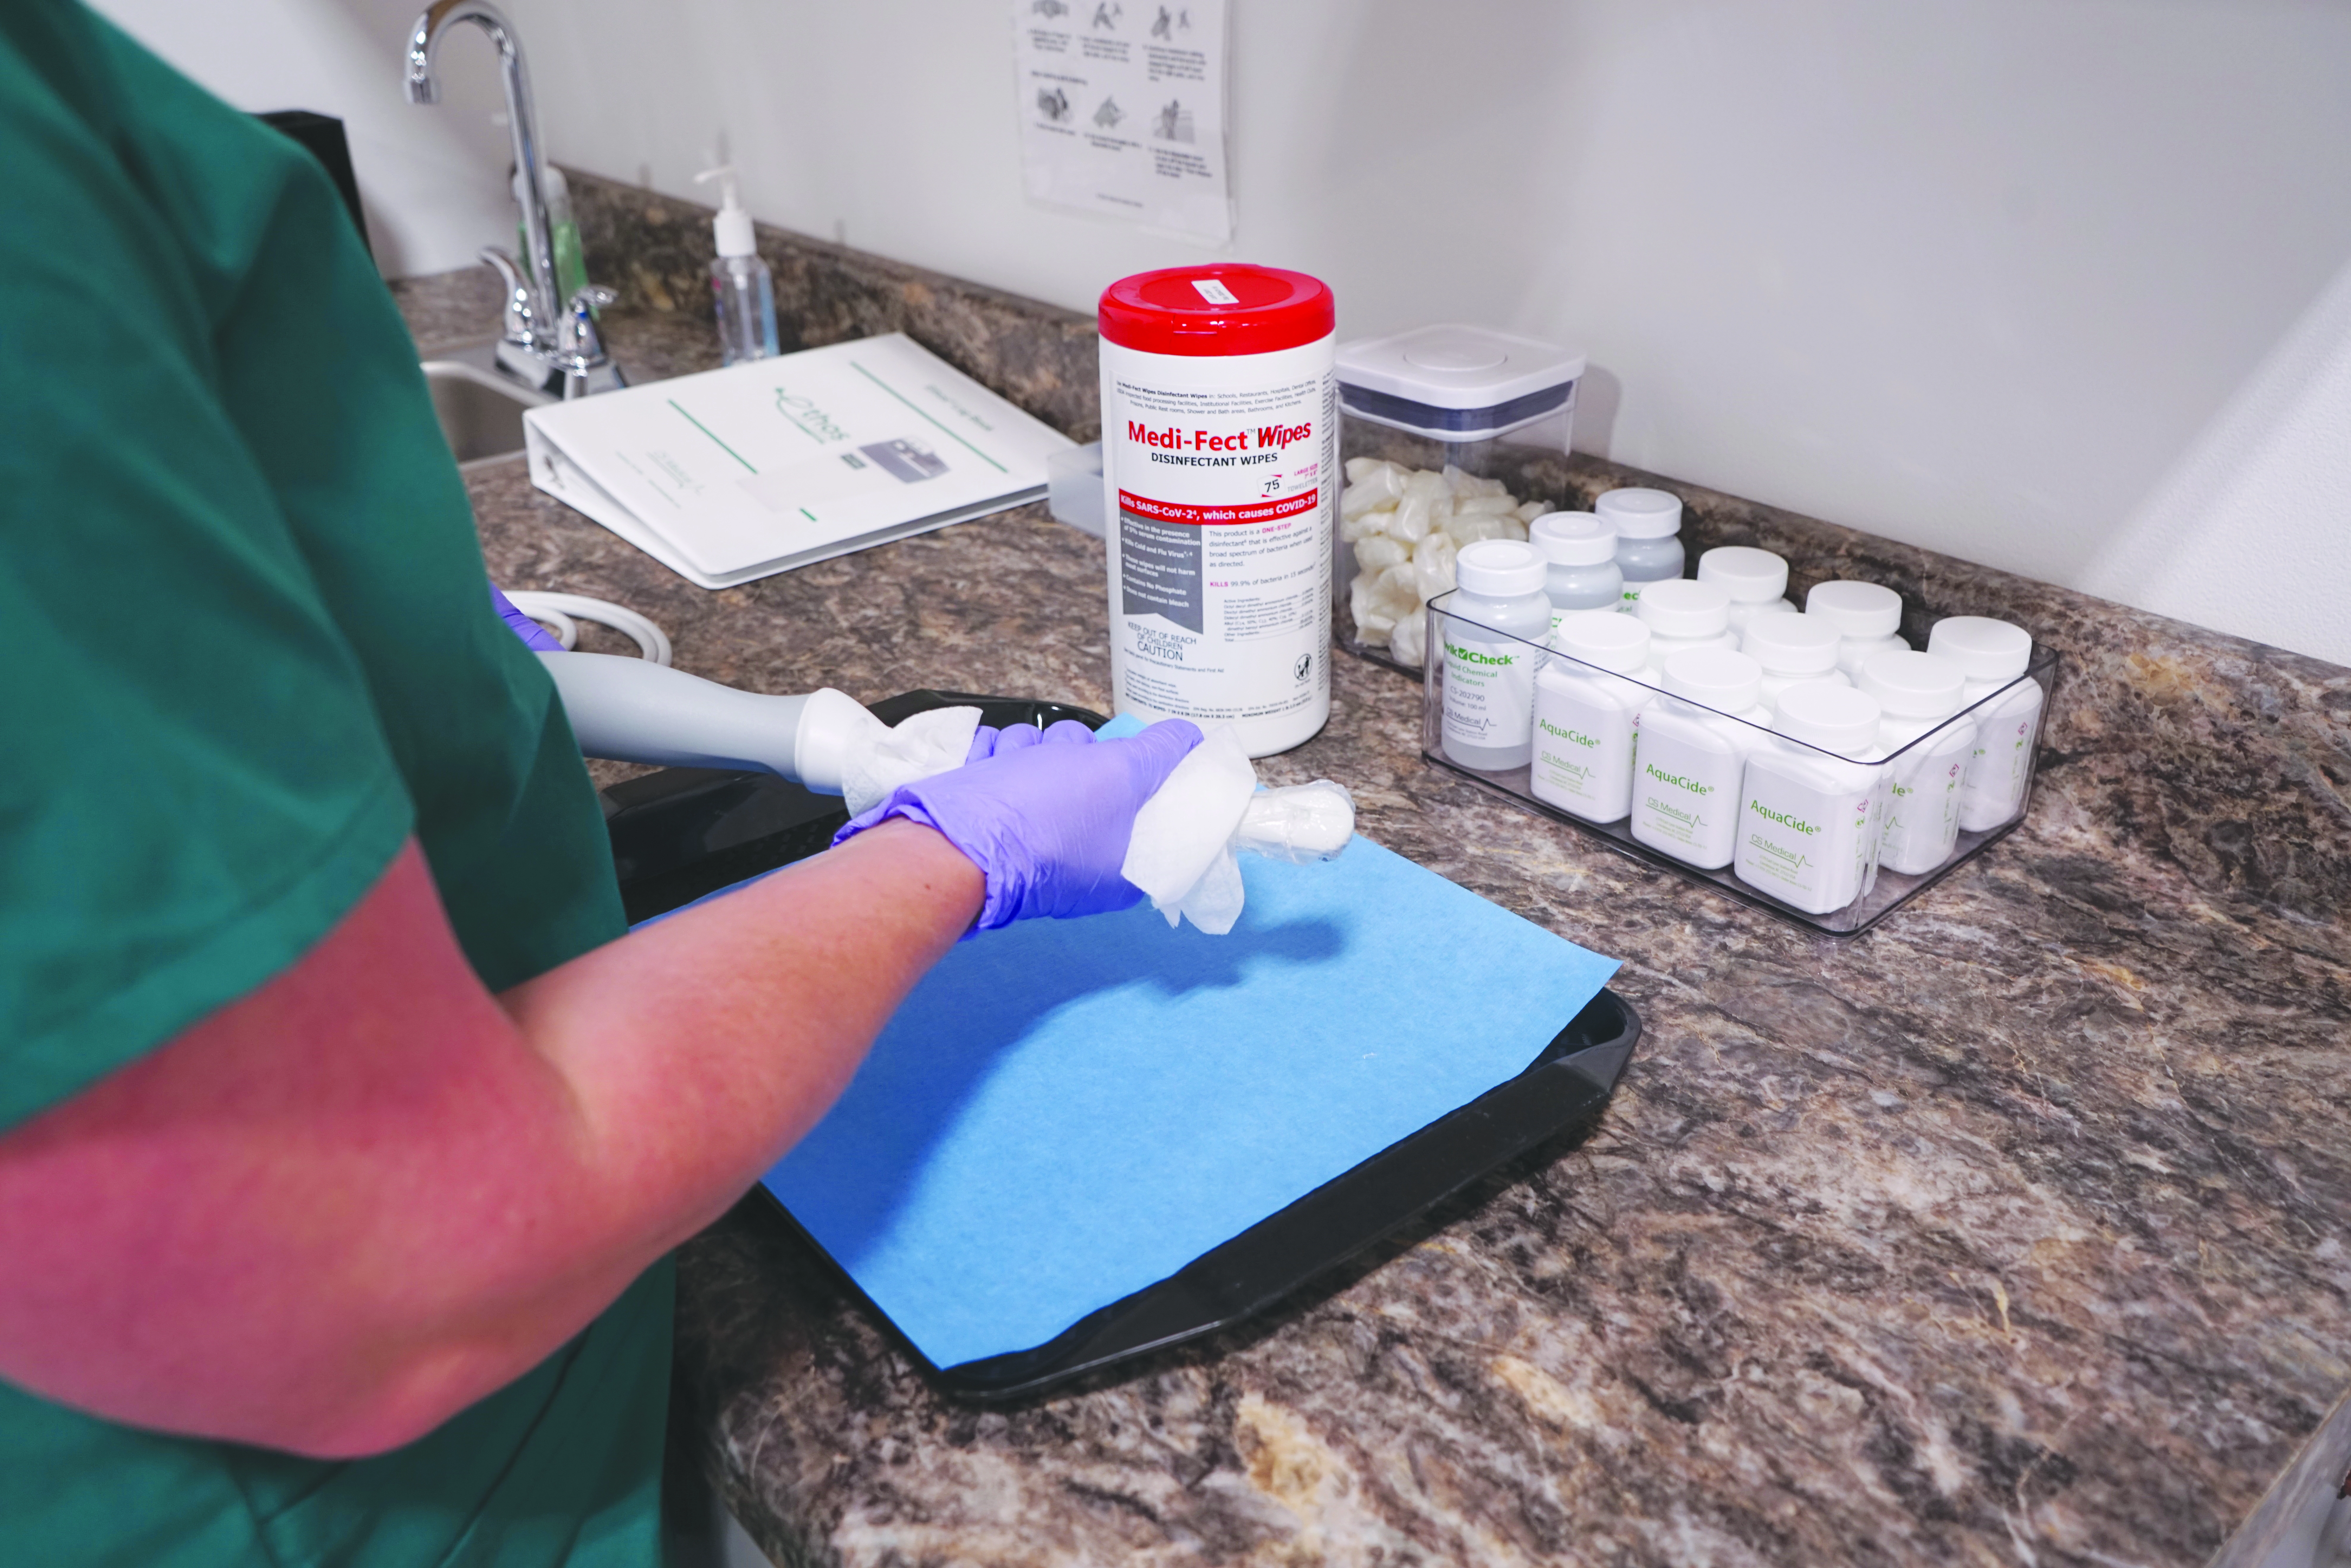
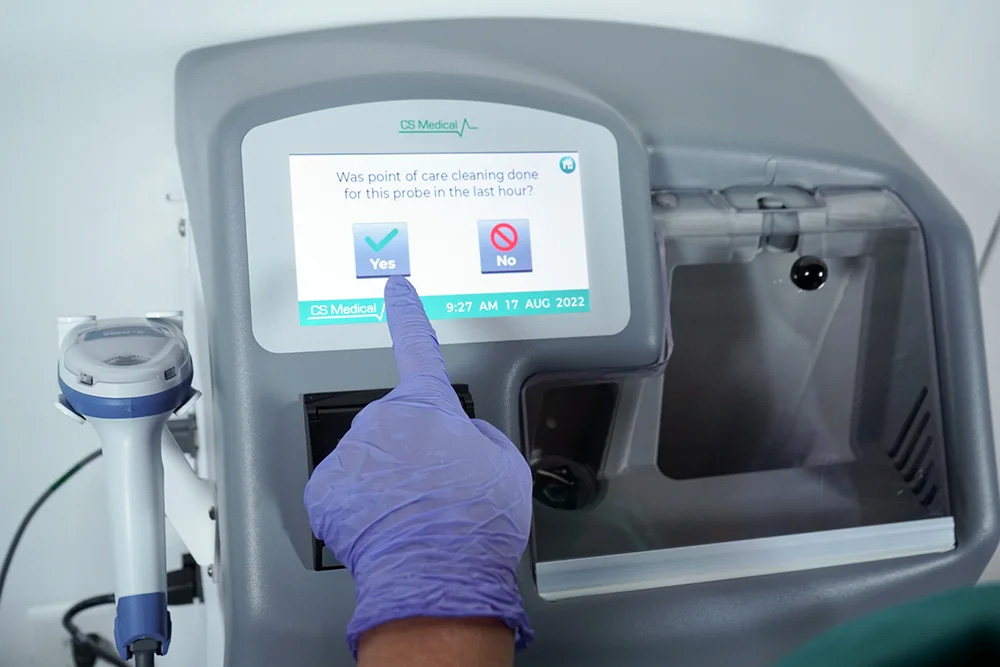
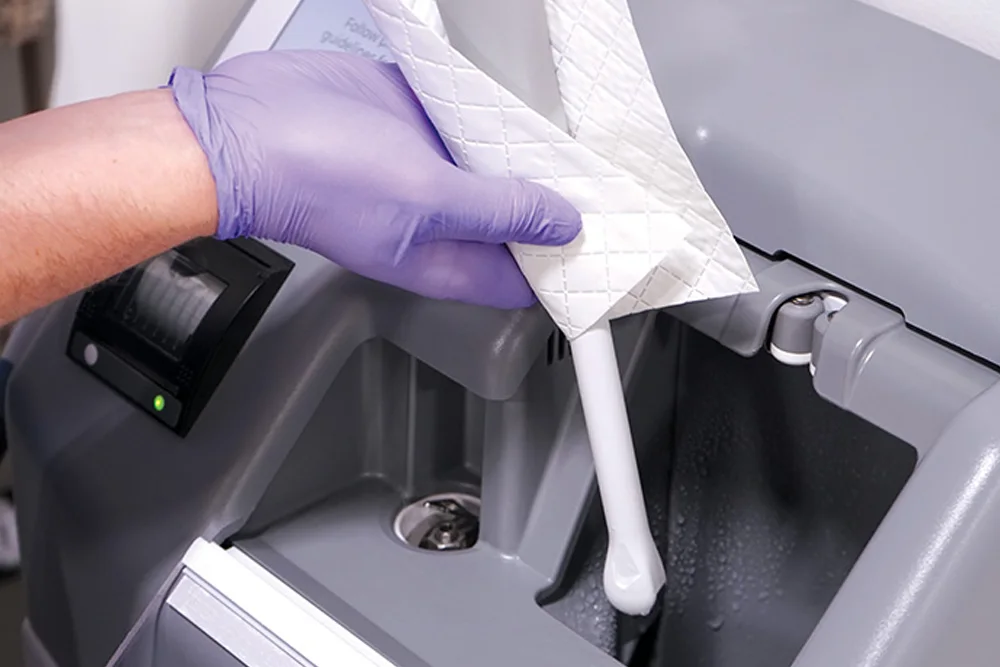
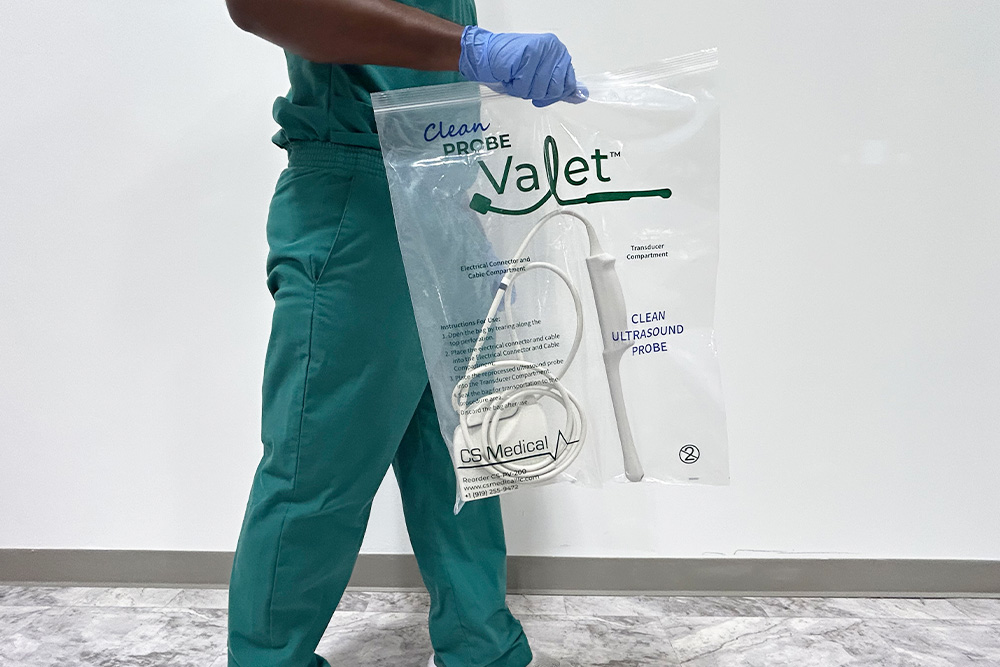
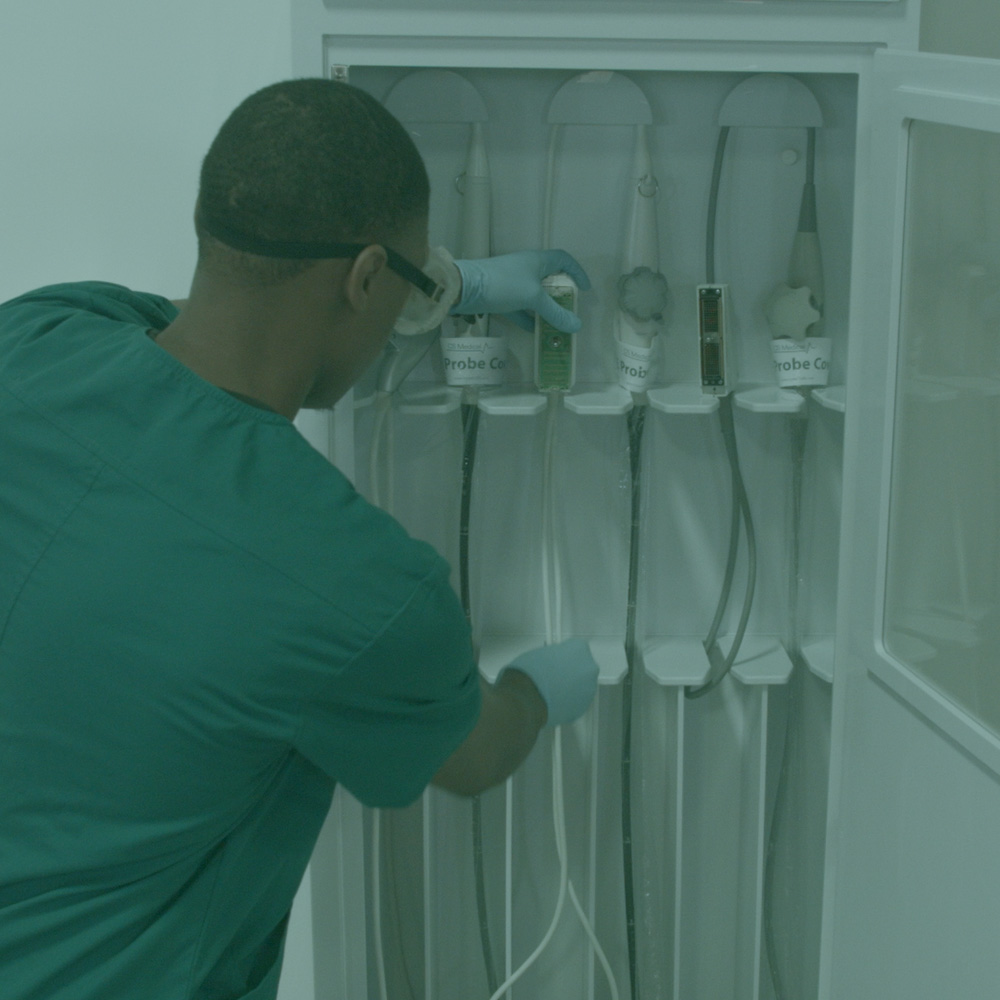
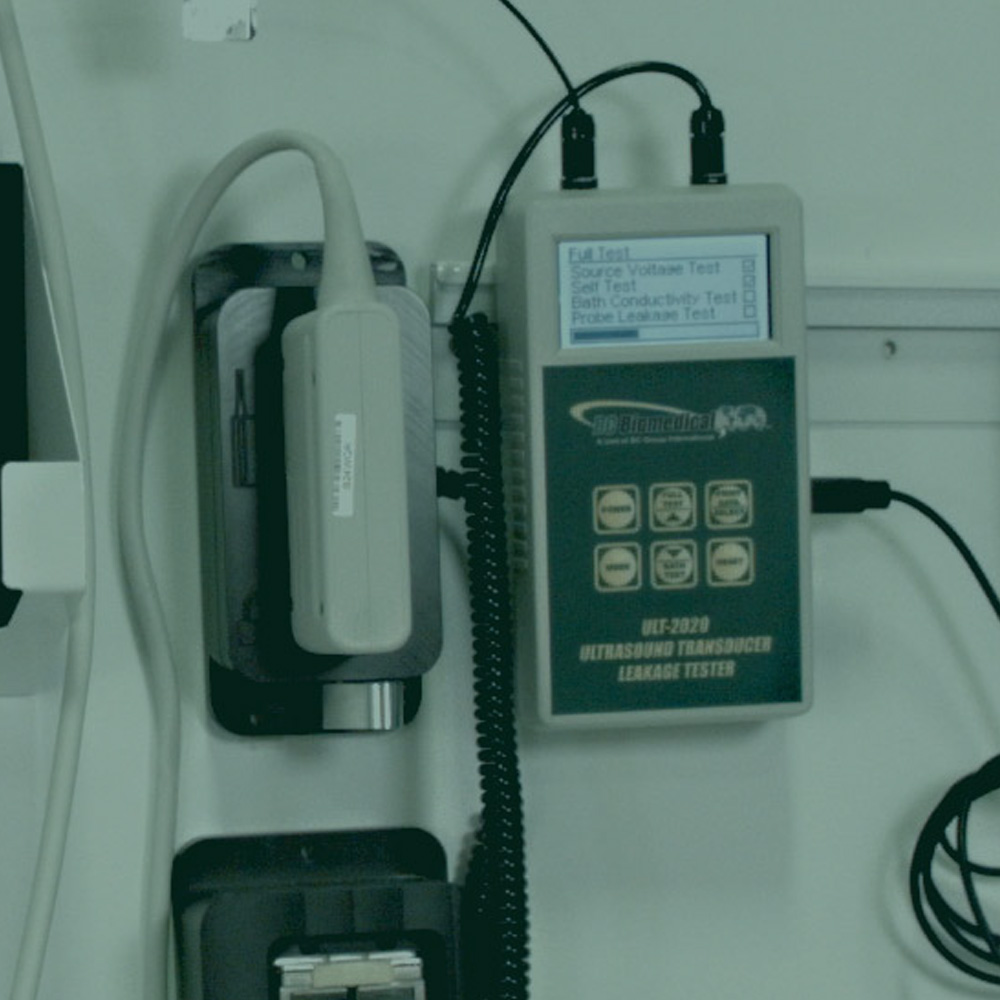
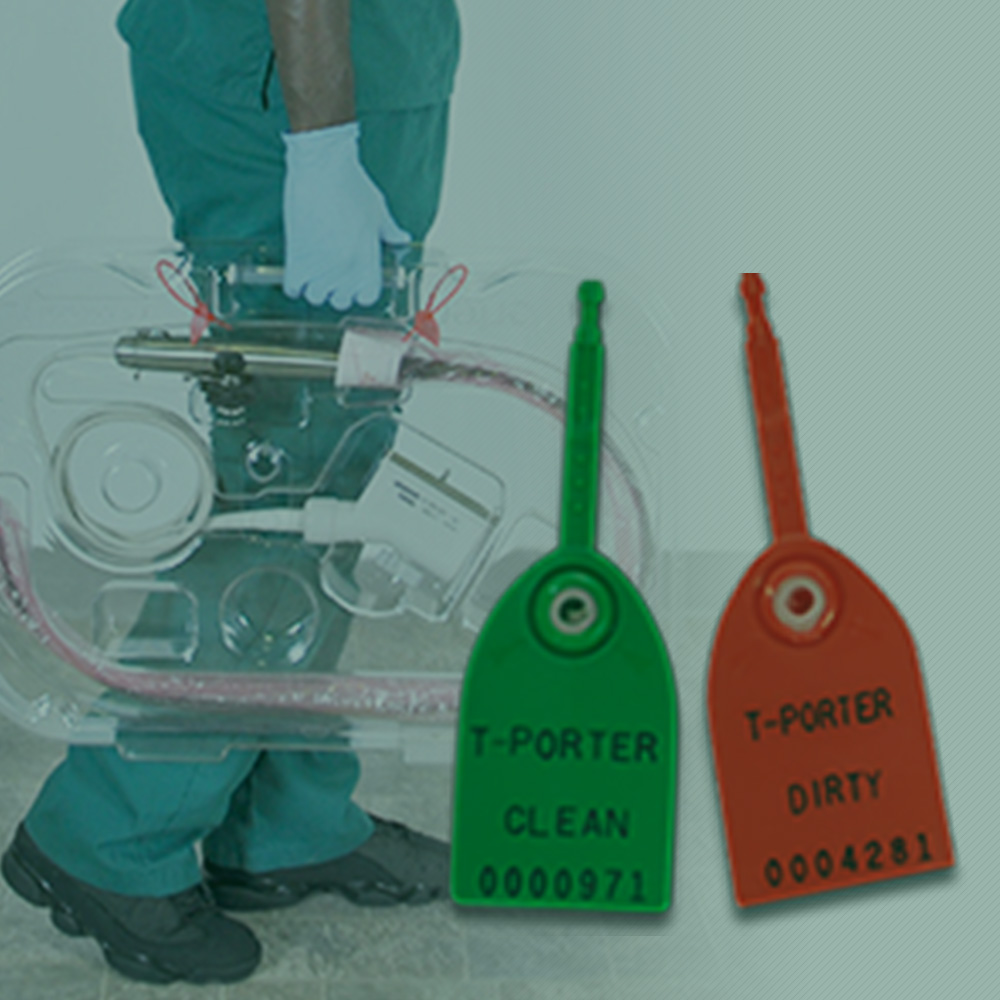
Reprocessing Soiled TEE Ultrasound Probes Workflow

A standardized, evidence-based guidelines approach to the reprocessing of TEE ultrasound probes improves quality, reduces variations, and controls cost in a variety of areas, from patient care to supply chain to overall departmental revenue management.

Complete Probe Reprocessing Workflow
TEEZyme Sponge TPorter® TEE Probe Transportation Case Ultrasound Transducer Leakage Tester TEEClean® Automated TEE Probe Cleaner Disinfector QwikDry® Ultrasound Probe Drying Cloth CleanShield® TEE Probe Storage Cabinet TPorter® TEE Probe Procedure Case

The Process - Step by Step

01

Point of Use Cleaning

When the probe is removed from the patient it should be wiped with an enzymatic product, like the TEEZyme® Enzymatic Sponge , to remove organic and inorganic soil so as to prevent these materials from drying on the probe. Bedside cleaning (also known as pre-cleaning or point of use cleaning) must be done for the successful reprocessing cycle of a soiled TEE ultrasound probe.

Products Used

TEEZyme Sponge Logo
02

Soiled TEE Probe Transportation

Transportation of the potentially biologically soiled TEE probe should be handled with a device or method that minimizes the potential for probe damage as well as occupational exposure to fellow staff and other patients. TPorter® TEE Ultrasound Probe Transportation Case is a solution designed by CS Medical to provide standardized care and handling of the TEE ultrasound probe during this critical portion of the reprocessing cycle.

Products Used

TPorter Logo
03

Electrical Leakage Testing

Almost all manufacturers' operator's manuals say that electrical leakage testing should be done before every patient exam. CS Medical offers the BC Group ULT-2020 ultrasound leakage tester and respective adapters that are specific to each TEE probe.

Products Used

04

Cleaning & High-level Disinfection

TEEClean® Automated TEE Probe Cleaner Disinfector provides both manufacturers recommended cleaning and high-level disinfection of soiled TEE probes in the same device. TEEClean is the first Automated Ultrasound Reprocessor cleared by the US FDA.

Products Used

TEEClean Logo
05

TEE Probe Drying

Drying of the TEE Ultrasound Probe, with a product like the QwikDry® Ultrasound Drying Cloth, is critical before storage or transport. Wetted surfaces are prone to attracting airborne contaminates resulting in probe contamination and potential HAIs being passed from the environment to the next TEE patient.

Products Used

QwikDry Logo
06

TEE Probe Storage

TEE ultrasound probes should be stored in a dry environment, hung vertically and within a HEPA clean environment. The CleanShield® TEE Ultrasound Probe Storage Cabinet is one option available to healthcare professionals as it allows compliance with current TJC (The Joint Commission) standards for care.

Products Used

07

Clean TEE Probe Transportation

TPorter® TEE Ultrasound Probe Procedure Case is the healthcare professional's safe choice for TEE ultrasound probe transport to the procedure room. TPorter creates a standard of care that increases staff compliance with recommended practices for reprocessing TEE ultrasound probes while providing a secure method for transportation of clean TEE ultrasound probes.

Products Used

Endocavity & Surface Probes

Reprocessing Soiled Endocavity & Surface Probes Workflow

A standardized, evidence-based guidelines approach to the reprocessing of endocavity & surface probes improves quality, reduces variations, and controls cost in a variety of areas, from patient care to supply chain to overall departmental revenue management.

Complete Probe Reprocessing Workflow
Soiled Transport Remove Procedure Cover Reprocessing Clean & Disinfect Drying HEPA Filtered Storage Procedure Transport

The Process - Step by Step

01

Soiled Transport

Once the procedure has concluded, the soiled ultrasound probe must be transported to the reprocessing area. If your Ethos® Automated Ultrasound Probe Cleaner Disinfector is installed in a central reprocessing area or a sterile processing department, this can be done using a biohazard Probe Valet™ transport bag. If your Ethos is located at the bedside or in the procedure room, you may skip directly to step #2. After the probe arrives in the reprocessing area, cleaning and high-level disinfection can begin.

Products Used

02

Point of Use Cleaning

Use a wipe to remove the procedure cover from the transducer. This can be accomplished with Medi-Fect™ Disinfectant Wipes or a simple wipe. Once the procedure cover is removed, then place probe directly into Ethos. Follow prompts on LCD screen to begin automated cleaning and high-level disinfection.

Products Used

03

Cleaning & High-level Disinfection

Once the ultrasound probe has been placed into the automated cleaner disinfector, follow the screen prompts to automatically perform cleaning, high-level disinfection, and rinsing of the ultrasound probe. Ethos has automated MRC testing to validate the potency of the disinfectant. With automated MCR testing, Ethos will alert the end user in the event the minimum recommended concentration is not achieved and high-level disinfection will not be performed.

Products Used

04

Drying of Probe

Once the final rinse is complete, remove the probe from the device. Apply a single-use QwikDry® Ultrasound Drying Cloth to the probe as you remove it from the Ethos.

Products Used

05

Ultrasound Probe Storage

Place the cleaned, high-level disinfected, and dried ultrasound probe into a CleanShield® Storage Cabinet designed to secure the handle, electrical connector, and cable freely. Make sure that the handle, cable, and electrical connector remain separate from the body of the probe. All portions of the ultrasound probe, other than the insertion shaft or scanner head, have only been surface disinfected while the insertion shaft or scanner head has been high-level disinfected.

Products Used

06

Procedure Transport

When the ultrasound probe is required for the next procedure, it must be taken out of the storage cabinet and transported to the procedure area. Remove the probe from the CleanShield and place it into a Clean Probe Valet™ transport bag, ensuring that the probe remains uncontaminated during transport.

Products Used

20
Years of Experience
3 or 5
Minute Disinfection Time
8
Over Eight Million
High-Level Disinfections
0
FDA Medical Device Reports
Schedule a time to speak with one of our sales professionals
Request a Product Price Quote today