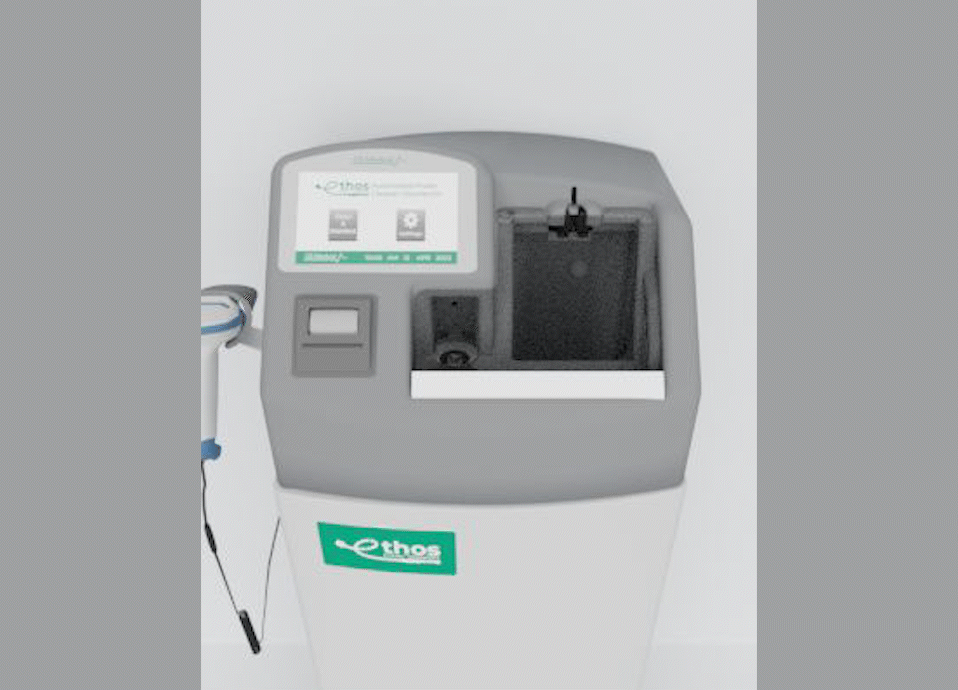
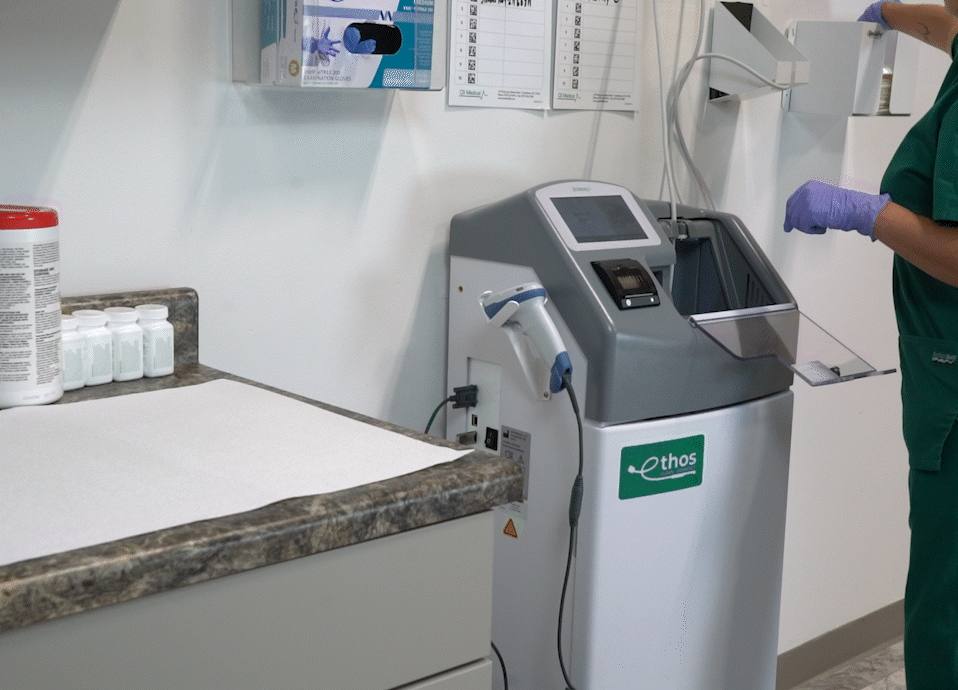
How Ethos Works
Prepare a soiled ultrasound probe for Ethos by removing the procedure cover with a wipe. The technician does not need to perform any other manual steps.
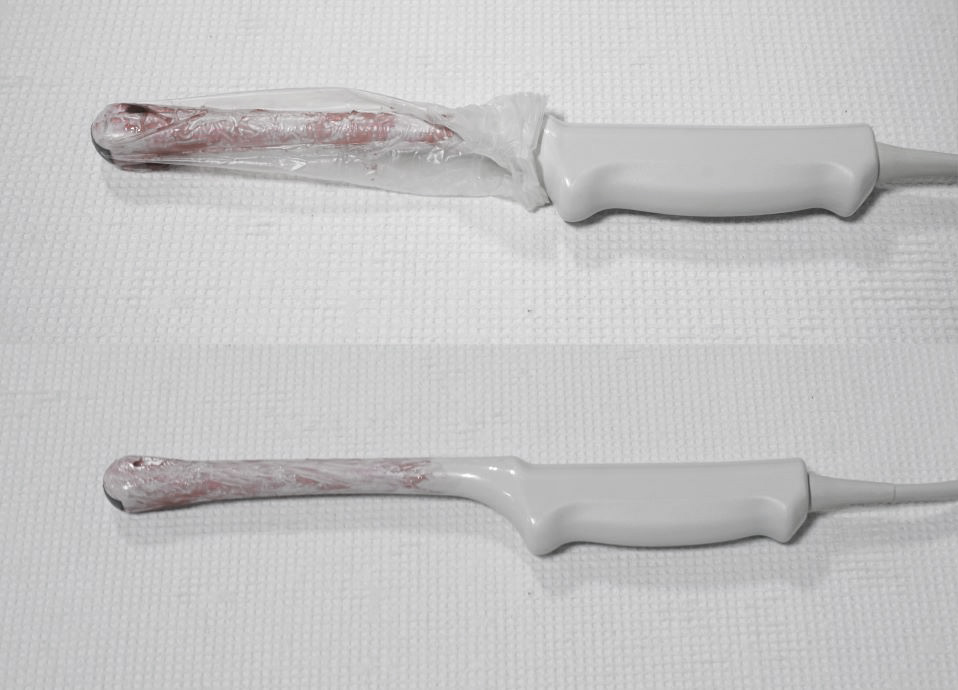
Top: A soiled ultrasound probe after a procedure, with the procedure cover still in place.
Bottom: The procedure cover has been removed and the soiled transducer is now ready to place in Ethos.
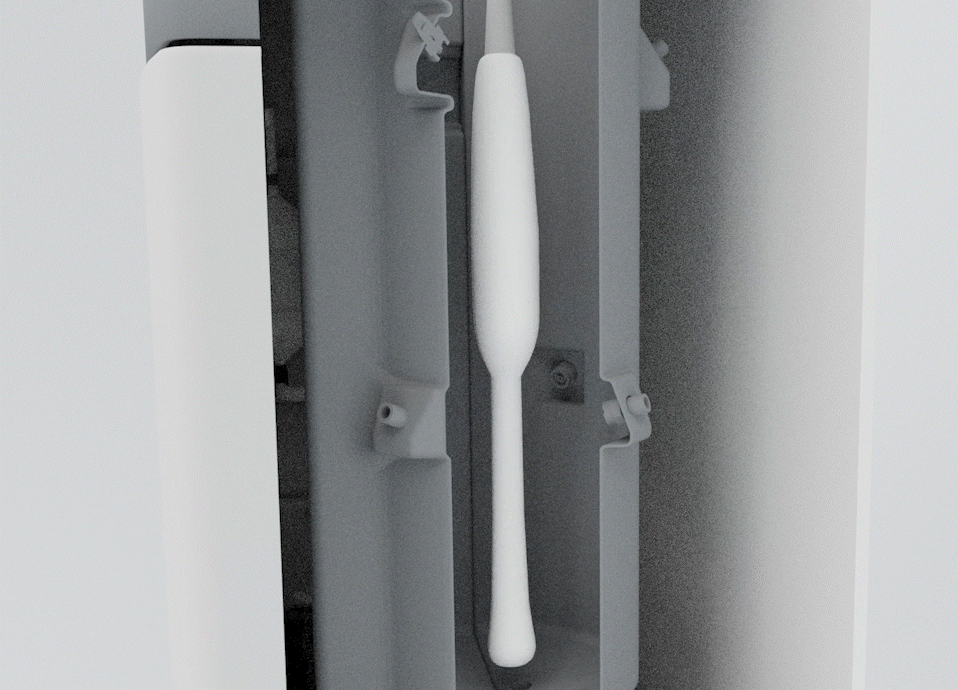
Open the probe door on Ethos and place the soiled ultrasound probe into the cleaning and disinfection chamber as indicated on the LCD screen.
Open the probe door and insert the soiled transducer, following the on-screen instructions.
Once the probe is placed in the reprocessing chamber of Ethos, a tempered water spray activates to remove any gross matter from the probe surface. During this time Ethos is mixing the cleaner disinfectant, AquaCide®, for application onto the surface of the soiled ultrasound probe. AquaCide is mixed and automatically tested for MRC before being sprayed onto the surface of the probe with a coverage area ranging from the distal tip to the strain relief. AquaCide performs both cleaning and high-level disinfection in 3 minutes.
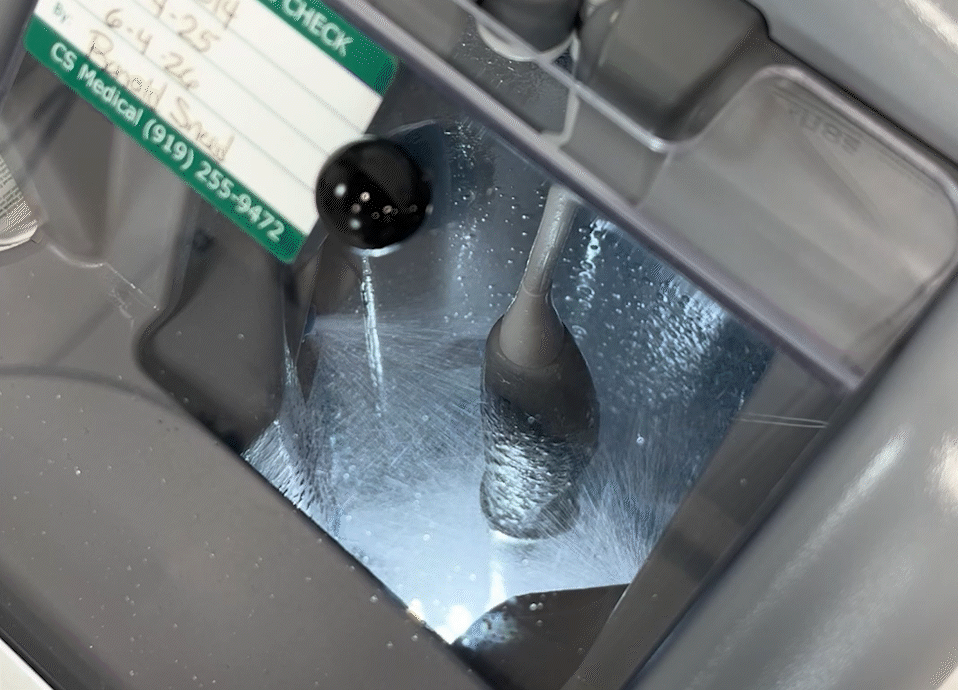
Ethos provides a continuous spray of water over the surface of the ultrasound probe.
At the conclusion of the cleaning and high-level disinfection, Ethos then sprays the entire probe with 5-nanometer filtered water to remove any residue from the cleaning and HLD application.
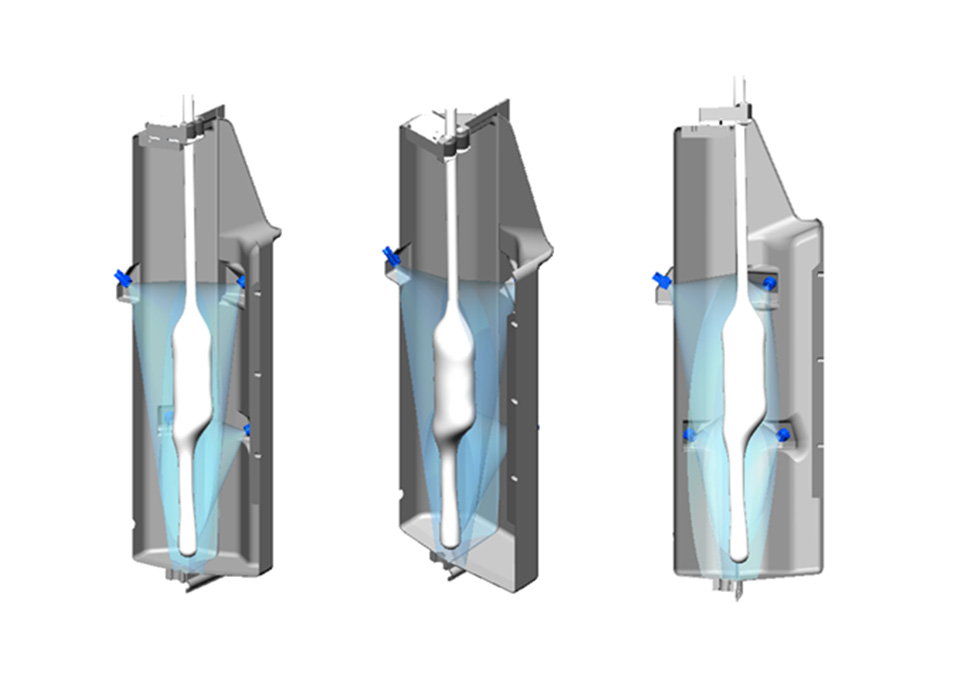
The probe is bathed in filtered rinse-water, ensuring no residue remains.
Remove the cleaned and high-level disinfected probe from Ethos. Dry the probe using a contaminant-free drying cloth, such as QwikDry®, and then store it in a HEPA-filtered storage cabinet or transport it in an approved device, like Probe Valet™, back to the procedure area for subsequent patient use.
Remove the probe from Ethos and dry it using a contaminant-free cloth.
Reprocessing with Ethos
A standardized, evidence-based guidelines approach to the reprocessing of endocavity & surface probes improves quality, reduces variations, and controls cost in a variety of areas, from patient care to supply chain to overall departmental revenue management.
